Transform Your Old Android Phone into a Car Diagnostic Dashboard in 15 Minutes
Introduction
That old Android phone collecting dust in your drawer can have a second life as a dedicated car diagnostic display. In just 15 minutes, you can repurpose it into a real-time dashboard that shows engine data, fuel economy, error codes, and more. This guide will walk you through the process step by step, so you can monitor your vehicle’s health without spending extra money on a professional tool.
What You Need
- Old Android phone – Any model running Android 5.0 or later works. A phone with a working touchscreen, Wi-Fi, and Bluetooth is essential.
- OBD2 Bluetooth adapter – A small device that plugs into your car’s OBD2 port (usually under the dashboard near the steering wheel). ELM327 or similar are common choices.
- Diagnostic app – Free options like Torque Lite (recommended) or paid versions like Torque Pro offer customizable dashboards.
- Car charger cable – To keep the phone powered during use.
- Phone mount or dashboard holder – Vent mount, suction cup, or magnetic holder work well.
- Basic tools – If needed, a small screwdriver to secure the mount or cable.
Step-by-Step Guide
Step 1: Prepare Your Old Phone
Wipe the phone to a factory reset if it’s slow or cluttered. Install the diagnostic app you chose (e.g., Torque Lite from Google Play). Make sure Wi-Fi and Bluetooth are turned on. Fully charge the battery or keep it plugged in via a car charger.
Step 2: Set Up the OBD2 Bluetooth Adapter
Locate your car’s OBD2 port (usually under the dashboard on the driver’s side). Plug the Bluetooth adapter into the port. Turn the car’s ignition to the “ON” position (do not start the engine yet). The adapter will power up and start blinking. Wait 30 seconds for it to initialize.
Step 3: Pair the Phone with the Adapter
On your Android phone, go to Settings > Bluetooth and scan for devices. You should see an entry like “OBDII” or “ELM327”. Tap it to pair. If prompted, use the default PIN 1234 or 0000. Once paired, the adapter’s light will usually become solid or blink slower.
Step 4: Configure the Diagnostic App
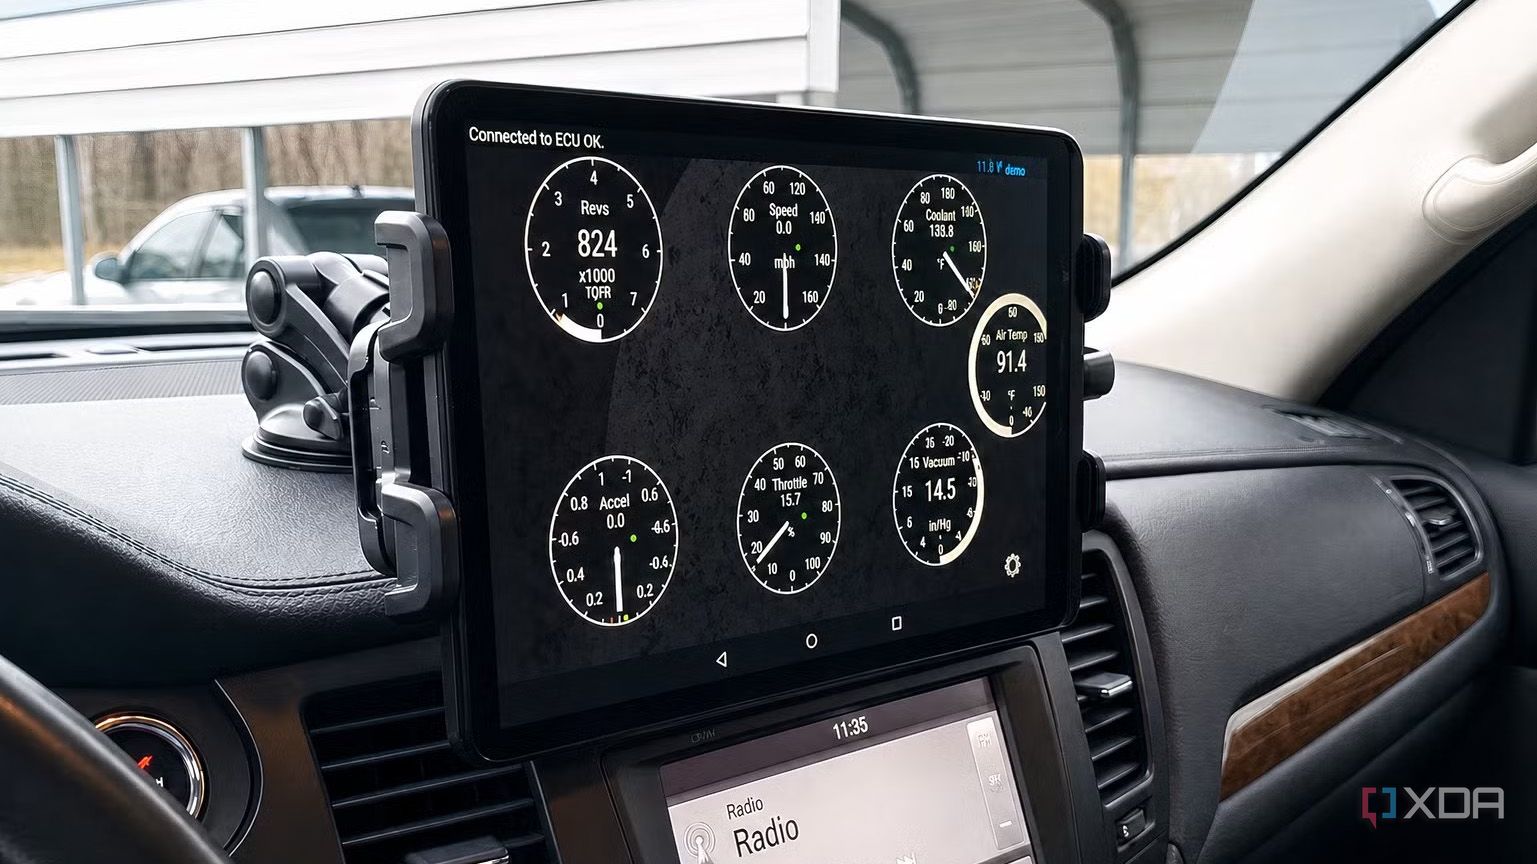
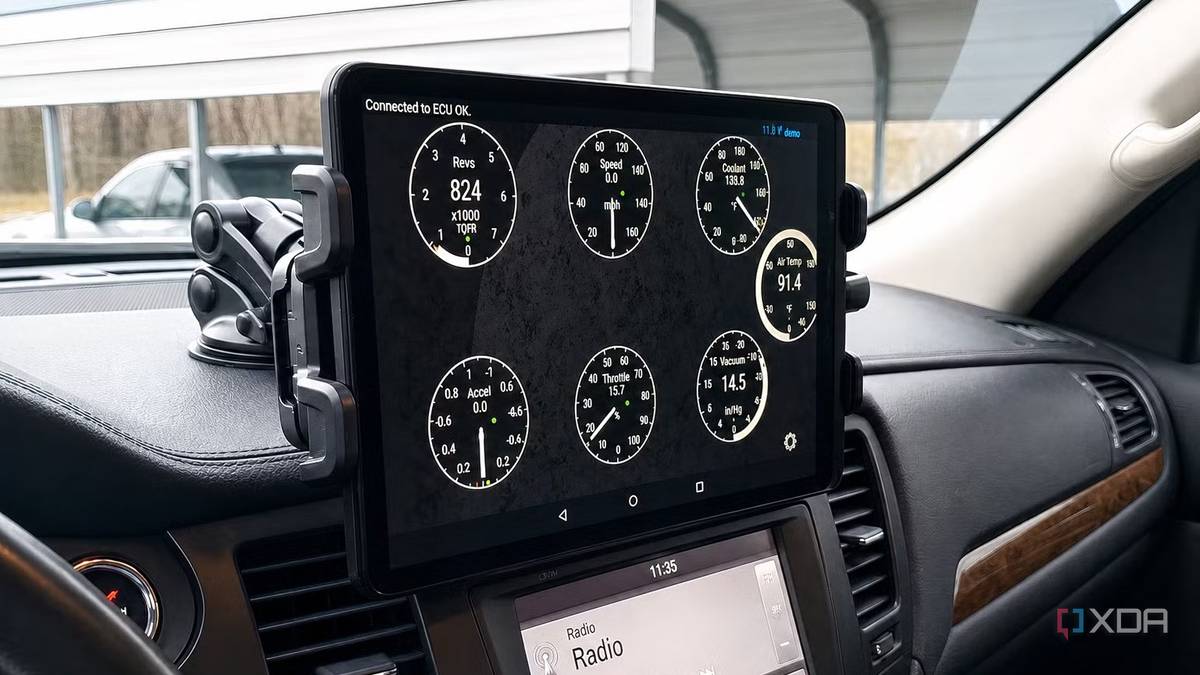
Open the app (e.g., Torque Lite). Grant all permissions (location, storage, notifications). Go to the app’s settings and select OBD2 Adapter Settings. Choose the Bluetooth device you just paired. The app will attempt a connection. If successful, you’ll see live data like RPM, engine coolant temperature, fuel level, etc. Customize your dashboard by adding gauges you find useful (speed, intake air temp, timing advance, etc.).
Step 5: Mount the Phone in Your Car
Choose a spot on your dashboard where the phone won’t block your view of the road or airbags. Attach the mount securely. Route the charging cable neatly (use cable clips if needed). Place the phone in the mount and ensure it stays stable even on bumpy roads.
Step 6: Test and Calibrate
Start the engine and check the app’s readings. Compare the phone’s speed with your car’s speedometer for accuracy (most OBD2 data is reliable). If the app shows error codes, you can clear them (but only after addressing the underlying issue). Adjust the display brightness to avoid glare: set it to automatic or lower it manually.
Step 7: Final Checks and Drive
Make sure the phone stays awake while driving – enable “stay awake while charging” in developer options. Disable any screen timeout in the app’s settings. Take a short test drive to confirm all gauges update smoothly. Now your old Android is a permanent diagnostic dashboard!
Tips for Best Results
- Choose the right mount – A magnetic mount with a metal plate on your phone case is super convenient. If using a vent mount, avoid blocking airflow to your car’s heater or AC.
- Keep the phone cool – Direct sunlight can overheat the phone. Place it away from sun exposure or use a sunshade. A car charger with a long cable helps position it out of direct sun.
- Update the app regularly – Torque and similar apps often add new features or support newer vehicles. Keep your phone’s OS updated as well for stability.
- Use a dedicated phone – If you have an extra phone, leave it in the car permanently. Avoid using your primary daily phone to save battery and avoid distractions.
- Secure loose cables – Use those adhesive cable clips to keep wires away from gear shifters and pedals. Tidy wiring prevents tangling and looks professional.
- Check compatibility – Older cars (pre-2008) may need different OBD2 protocols. The ELM327 adapter works with most cars, but some models like BMW or hybrid vehicles may require special adapters. Check forums if you encounter issues.
- Explore advanced features – Torque Pro (paid) allows logging data to a CSV file, mapping performance runs, and even creating custom dashboards with widgets. Worth the few dollars if you’re serious about diagnostics.
With just a few minutes of setup, your old smartphone becomes a powerful companion for understanding your car’s health. No more expensive diagnostic tools needed – just a device you already own and a little creativity.